SystemAdministration/LDAPManagementForDummies
So after much much pain, I managed to wrestle slapd into working, and get single-signon working across all nodes. As a side effect, none of the flat files are used for things like group permissions and such. slapd has incredibly poor documentation, so this is the quick reference cheatsheet to handle user management, hosts management, etc.
Accessing the LDAP database
All nodes have read-only access to the database. Read/Write requires connecting as admin, which is stored as an ldap.secret on the master nodes. In other words, you need to a sysop, access the LDAP server directly, then sudo to root. You also want to do some local port forwarding to access phpLDAPAdmin
mcasadevall@tranquility:~$ ssh -L 8080:localhost:80 mcasadevall@ldap-server.li694-22
-snip-
Last login: Sat Mar 22 16:43:25 2014 from REDACTED
mcasadevall@soylent-db:~$ sudo -i
root@soylent-db:~#
All future instructions assume you're root on a LDAP master unless specified otherwise. All permissions are handled by POSIX groups
Access to machines are controlled by the POSIX groups you're present in LDAP. This page acts as a quick reference guide to see what you can do with what permissions.
Checking Permissions
From any node, you can run 'id' on a user to see what permissions you or anyone else has
mcasadevall@soylent-db:~$ id mcasadevall
uid=2500(mcasadevall) gid=2500(firefighters) groups=2501(sysops),2500(firefighters),2502(db)
Here's our breakdown of permissions that can access what. Please note this refers to physical access permissions, *not* roles in teams. We try and practice least amount of access necessary in an attempt to keep things relatively secure. You can be in multiple groups.
List of Groups
| Group Name | Is What | Can Access |
|---|---|---|
| firefighters | all staff | firefighters can access the shell box, used to springboard to other nodes |
| db | database administrators | db users can access production databases, and sudo to the db user. They can *not* sudo to root |
| dev_team | slashcode develoeprs | can access dev nodes, can sudo to root on dev nodes |
| ircops | IRC administrators | access to IRC hosting nodes, can sudo to root on irc boxes |
| prod_access | people trusted to pushout on production | can access all production nodes as well as edge nodes, can sudo to the slash account. No root privelleges |
| svcadmin | admins of misc svcs box | shell access to all services nodes (outdated?), can sudo to root on svc nodes. |
| sysops | users with global root | sysops can sudo to root on all nodes, as well as access any node that we run. Users in this group also have access to the Linode master panel |
uid/gid numbers
uid/gid numbers have to be global across the network, so here's basic cheat sheat. As we're using Ubuntu, we inhert the Debian UID Policy, which defines what UIDs are availabale for what: https://www.debian.org/doc/debian-policy/ch-opersys.html
As such, we need to work within that policy. Here's the relevelant information you need to know.
- 1000-2499 - reserved for local users we create. No account should be accessible or have a password (use passwd -l *username* to strip it)
- 2500-59999 - LDAP user/groups
For local groups, try and keep UIDs consistent across systems in case we do things like NFS mounting in the future. It will save us a load of pain in the future.
Getting An Overview of User/Groups/Hosts
As everything passes through NSS, we use the "getent" command to get an idea of what the node can see, who's in what groups, etc. getent takes one argument, which can be any NSS database. For most people, the useful options are "passwd", "group", "hosts"
root@soylent-db:~# getent group
root:x:0:
daemon:x:1:
-snip a LOT of stock groups-
firefighters:*:2500:mcasadevall
sysops:*:2501:mcasadevall
db:*:2502:mcasadevall
This is also a good way to SAN check to make sure what user accounts are local, and which are global (in LDAP). This command can be run from any node.
Managing Actual Users/Groups
Fortunately, we live in a modern age where its not necessary to muck with ldif files directly to manage users or groups. ldapscripts are setup on the LDAP masters, and can be used to edit the database in a relatively sane way.
Creating A User
For the sake of an example, I'm going to make mechaniacjay's user account. ldapadduser is used for this
root@soylent-db:~# ldapadduser mechanicjay firefighters
Successfully added user mechanicjay to LDAP
Successfully set password for user mechanicjay
root@soylent-db:~# id mechanicjay
uid=2502(mechanicjay) gid=2500(firefighters) groups=2500(firefighters)
Easy, right?
SSH Keys
Adding SSH Keys is somewhat more difficult, as we don't have a handy script to do it. You need to use phpLDAPadmin, or rip your hair out with ldapmodify. Go to the phpLDAPadmin section to see how to do this.
Creating A Group
Basically the same thing, except we use ldapaddgroup
root@soylent-db:~# ldapaddgroup dev_team
Successfully added group dev_team to LDAP
root@soylent-db:~# ldapfinger dev_team
dn: cn=dev_team,ou=groups,dc=li694-22
objectClass: posixGroup
cn: dev_team
gidNumber: 2503
description: Group account

root@soylent-db:~#
Adding Users To Groups
Right now, mechanicjay has just the basic firefighting group, but is a sysop, so we need to add him to that group. That can be done with the ldapaddusertogroup command.
root@soylent-db:~# ldapaddusertogroup mechanicjay sysops
Successfully added user mechanicjay to group sysops
root@soylent-db:~# id mechanicjay
uid=2502(mechanicjay) gid=2500(firefighters) groups=2500(firefighters),2501(sysops)
root@soylent-db:~#
Group authetication is checked by PAM and SSH on login, so just by adding him to the group, he's gotten access to all nodes across the system (as defined by the sysops group).
Repeat for each group.
Removing Users, Groups, and Machines
Sometimes staff resign, or otherwise unavailable. There are couple of commands that do it
* ldapdeleteuser
* ldapdeleteusertogroup
* ldapdeletegroup
Usage is basically identical to above. Please do not repeat UID numbers however, in case of restoring files from backups so we have a chance of IDing who it was who owned what.
Accessing phpLDAPadmin
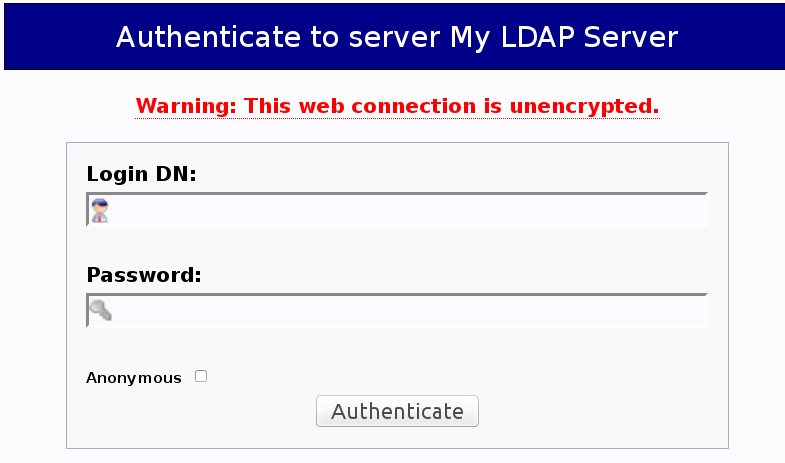
For some things, having a GUI is a *good* thing. Fortunately, we have one, though its a little rough around the edges. If you started your SSH session as above, SSH is tunnelling port 8080 to 80 on your local host. You can access phpLDAPadmin by simply opening up Firefox (or another browser of choice), pointing it to http://127.0.0.1:8080/phpldapadmin. Once you're in, you're presented with this rather bland looking login window
To login, use the following information
* Login DN: cn=admin,dc=li694-22
* Password: Look at /etc/ldap.secret on the LDAP master to retrieve it
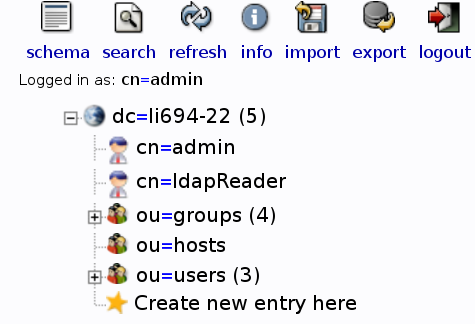
Once logging in, you'll see this bar on the right:
This is pretty self-explinatory on what is what, but as an important safety note, do NOT edit the cn=admin or cn=ldapReader, which are used to autheticate into OpenLDAP. If you edit them, you can break the entire setup. If you break it, you buy it, do not pass go, do not collect 200 zorkmids? Got it?
Furthermore, I don't recommend adding users here, unless you're really familiar with how LDAP attributes map to POSIX attributes. The same goes for groups, and the phpLDAPadmin interface isn't great for this. Please, use ldapscripts, they're much easier. If you don't know how to do something, ask.
phpLDAPadmin really should only be used to manage SSH keys, and editing the ldap hosts file.
Adding SSH Keys
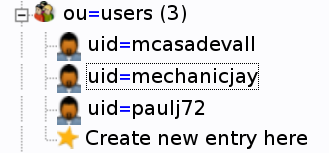
So, continuing using mechaniacjay as an example, we're going to open his account in LDAP, and enroll his SSH key, To begin, expand the ou=users group. You get something looking like this.
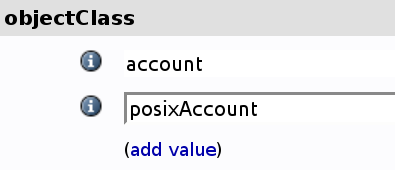
In the main part of the window, you can see the various LDAP attributes of the account. A quick glance of this by an astute reader will notice that there's no place to stick an SSH key in. If you noticed, take a gold star, because you're absolutely right. You need to add the attribute to the object. That's relatively easy. Scroll down to the objectClass bar
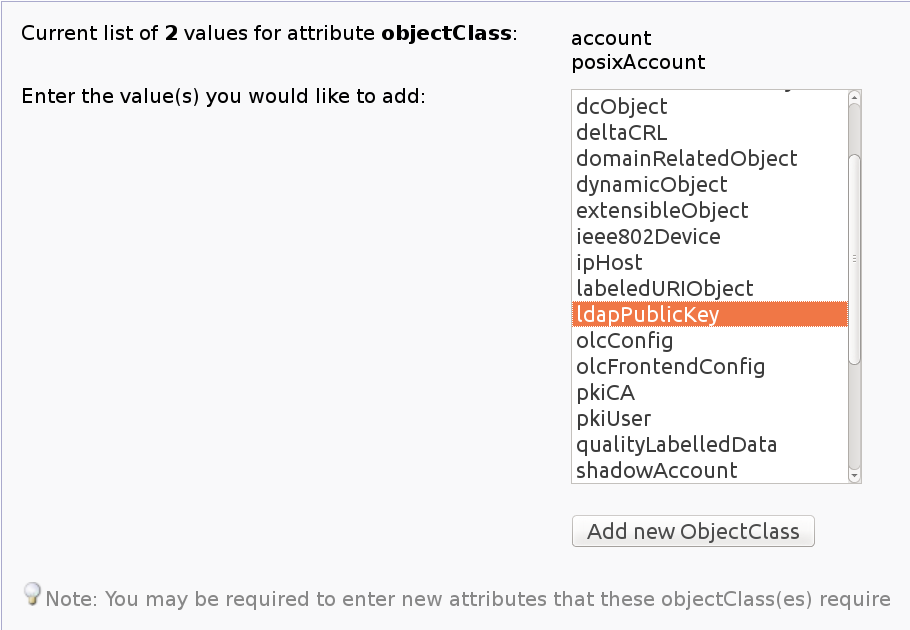
Click Add, which brings up this scary looking screen.
Select ldapPublicKey as in the screen shot, then click addObjectClass. This returns you to the previous screen, with seemingly no changes. However, now the user object ready to accept SSH keys. Click Add new attribute
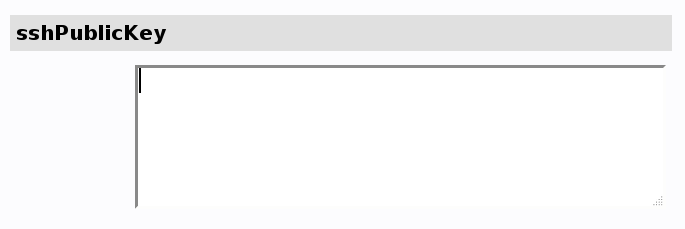
Then select sshPublicKey, you get a box like this:
Copy and paste in the id_rsa.pub from the user.
IMPORTANT: Make sure there's no trailing new line at the end, or openssh will reject the key (it gets encoded to Base64 and fails to work. You can create multiple sshPublicKeys if a user needs more than one key, but one key per box.
Scroll to the bottom, and click Update Object. You'll get a confimration screen (scroll right to find the OK box), and then you're done. Woo, that it. OpenSSH will get keys automatically from LDAP when someone tries to sign in.
Hosts Management
So, unfortunately, phpLDAPAdmin doesn't have a nice interface for generating hosts, and I couldn't successfully make a new template to make this work. Fortunately, this is pretty simple. Take a look at the existing entries, then Copy an existing one to make a new one
The Common Name (cn) is the hostname of a machine, it should be in the form of name.li694-22
You can have multiple IP addresses as well
LDAP Server Notes
TLS
OpenLDAP has perhaps one of the most pendatic TLS systems I've ever worked with. It either enforces a good cert, or ignores the cert, there's no middle ground. Because of this, you need to have a valid hostname in the cert of make TLS to. The certificate has ldap-server.li694-22 as its common name, and every node needs this set in the actual hosts file to make LDAP work. When we get replication up and running, we'll have to do the same things there.
TLS is enforced for all connections.
Replication
To Be Done
Important Safety Note: We've got a schema change to allow the SSH keys to be stored in LDAP, that will have to be put on each slurp system or *interesting* breakage will occur. You have been warned.
